This is 7 of 8 part of struts 2 tutorial.In this tutorial we will see how we can use ajax in our webApplication in struts 2 framework.
Tutorial Content:
- Introduction to struts 2
- configuring struts 2 in eclipse
- Struts 2 hello world example
- Login page with validation in struts 2
- Struts 2 interceptors with example
- File upload in struts 2
- Struts 2 ajax example
- Struts 2 spring 3 integration example
Ajax Support in struts 2:
Struts 2 provides in-built support to ajax using dojo toolkit library. It comes with dojo ajax APIs which you can use to support ajax.For ajax support you need to add following jar to your classpath struts2-dojo-plugin.jar.
AutoCompleter Example:
Create project named “autoCompleteInStruts2”.For configuring struts 2 in your eclipse ide please refer configuring struts 2 link.
We will create textbox which will autocomplete and suggest input.
Project structure: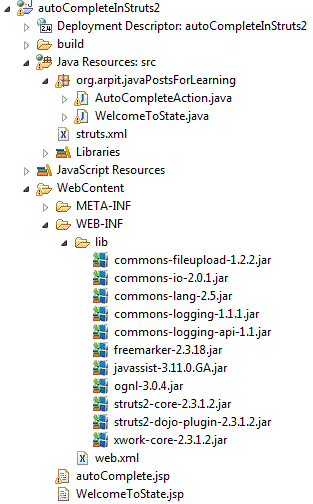
Create project named “autoCompleteInStruts2”.For configuring struts 2 in your eclipse ide please refer configuring struts 2 link.
We will create textbox which will autocomplete and suggest input.
Project structure:
Action class :
Create action class named AutoCompleteAction.java under package org.arpit.javaPostsForLearning in src folder. It will get called for our AutoCompleter example.
copy following content to AutoCompleteAction.java
package org.arpit.javaPostsForLearning;
import java.util.ArrayList;
import com.opensymphony.xwork2.ActionSupport;

public class AutoCompleteAction extends ActionSupport{

 public ArrayList listOfStates=new ArrayList();
 public String state;
 public String execute()
 {
  populatelistOfStates();
  return SUCCESS;
 }

 public void populatelistOfStates()
 {// i am taking few states here with same first character.you can have all states
  listOfStates.add("Maharastra");
  listOfStates.add("Madhya Pradesh");
  listOfStates.add("Meghalaya");
  listOfStates.add("Karnataka");
  listOfStates.add("Kerala");
 }
}
JSPs:
We will create one jsp named “autoComplete.jsp” under WebContent folder.
Copy following code into autoComplete.jsp
<%@ page language="java" contentType="text/html; charset=ISO-8859-1" pageEncoding="ISO-8859-1"%> <%@taglib uri="/struts-dojo-tags" prefix="sx"%> <%@taglib uri="/struts-tags" prefix="s"%>Auto complete example >Welcome to India
Now here <%@taglib uri=”/struts-dojo-tags” prefix=”sx”%> is a directive used in jsp for including dojo ajax tag files.
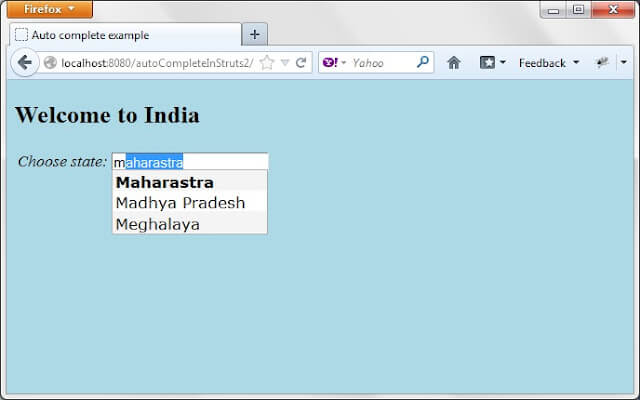
tag is used for having textbox or dropdown in jsp. So on writing few characters it will show you relevant options. In this,showDownArrow property indicates whether to show dropdown or not. Here we are setting it to false so that we will get textbox same as we see on google.
tag is used for having textbox or dropdown in jsp. So on writing few characters it will show you relevant options. In this,showDownArrow property indicates whether to show dropdown or not. Here we are setting it to false so that we will get textbox same as we see on google.
struts.xml:
There will be no major changes in struts.xml .It will be same type of url action mapping
Create struts.xml in src folder.
Copy following content in struts.xml
autoComplete.jsp
Web.xml:
It will be also same as in previous posts.
Copy following content in web.xml.
 autoCompleteInStruts2


         struts2


         org.apache.struts2.dispatcher.ng.filter.StrutsPrepareAndExecuteFilter


 struts2
 /*


 default.jsp
Run Application:
Right click on project->run as->run on server.
copy http://localhost:8080/autoCompleteInStruts2/AutoComplete link to browser and press enter
we will get following screen.
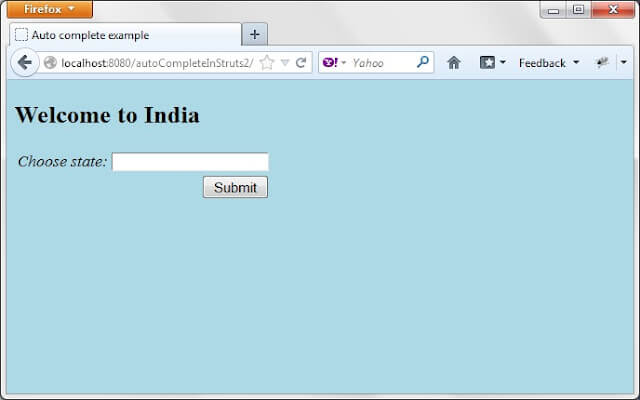
Enter ‘m’ in textbox and we will get following screen.
Extending above example :
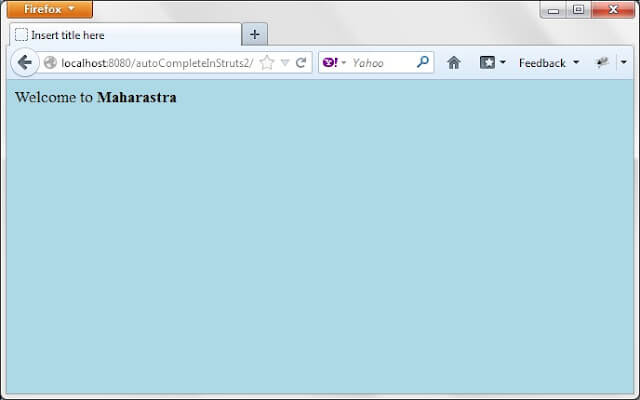
We will extend above example such that when we click submit on autocomplete.jsp,we will be directed to welcome page for submitted state.
Adding another action file:
Create new action file named “welcomeTostate.java”
copy following code in WelcomeToState.java
package org.arpit.javaPostsForLearning;
import com.opensymphony.xwork2.ActionSupport;
public class WelcomeToState extends ActionSupport{

    public String state;

    public String execute()

    {
        return SUCCESS;
    }
}
so in autoComplete.jsp add action=”welcomeTostate” in tag.
Adding new JSP file:
create new jsp file in Webcontent folder named “WelcomeToState.jsp”
copy following code to WelcomeToState.jsp.
<%@ page language="java" contentType="text/html; charset=ISO-8859-1" pageEncoding="ISO-8859-1"%> <%@taglib uri="/struts-tags" prefix="s" %>Welcome to state Welcome to
Now in struts2.xml in tag add following action mapping
WelcomeToState.jsp
Run application again:
Follow above steps(under run application heading) for running application.
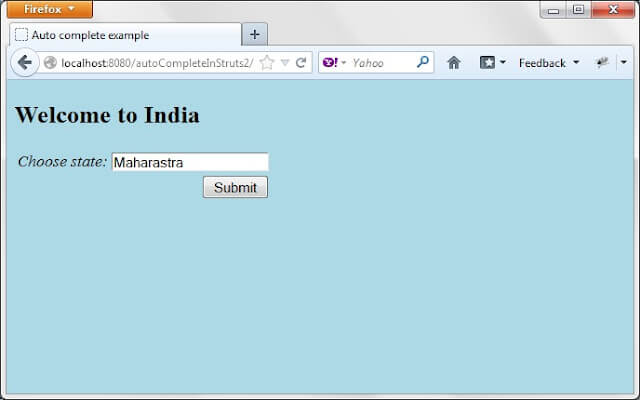
Choose Maharastra and click on submit